You can connect to Excel files and copy the both worksheet tables and named tables and ranges into the Pyramid data flow. Each worksheet or named range in the given file is converted into a table. Each column within the sheet is converted into a column within the corresponding table
The Excel file source supports local file upload, pointer to a shared file on a network drive, and URL address.
Provide the File
Add the Excel source node to the data flow and go to its Properties panel. Start by selecting the method via which to provide the file.
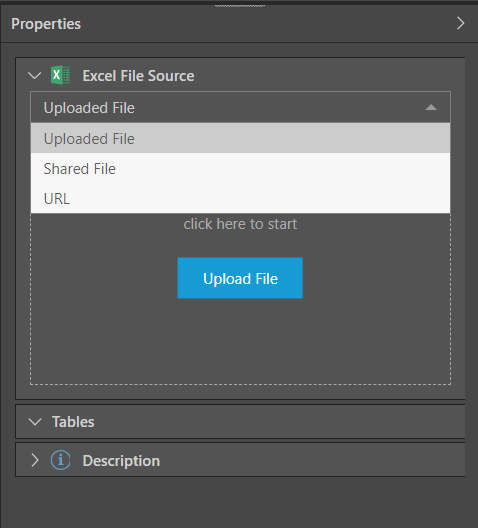
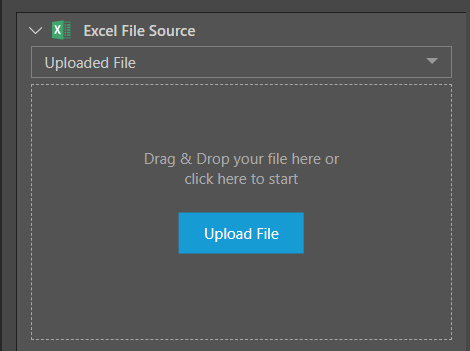
Uploaded File
To upload a file, either drag and drop the file from its folder location onto the Properties panel, or click the blue Upload File button, and then find and select the file from its folder location.
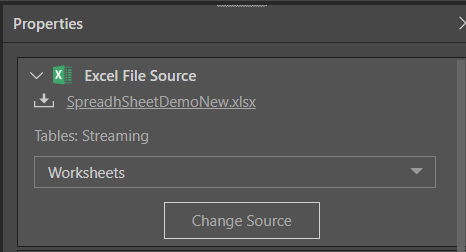
Your given file will be uploaded:
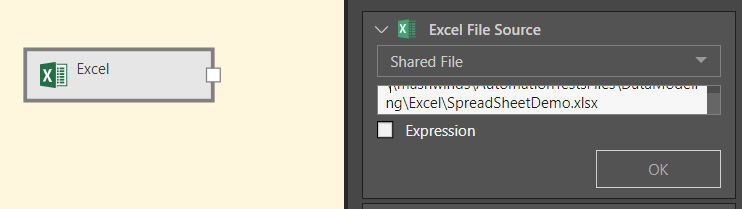
Shared File
Users can provide a pointer to a shared file, rather than uploading the file into Pyramid. When the model is processed, the file is read and included in the model.
To connect to a shared file, enter the shared file path (including the file name and extension) in the Properties panel.
The shared file must use a UNC file path format to the shared directory and file on the network. The machine hosting Pyramid must have access to the shared file location. If the Pyramid services are running on different machines, the Runtime and Task Servers must be given access to the shared file location.
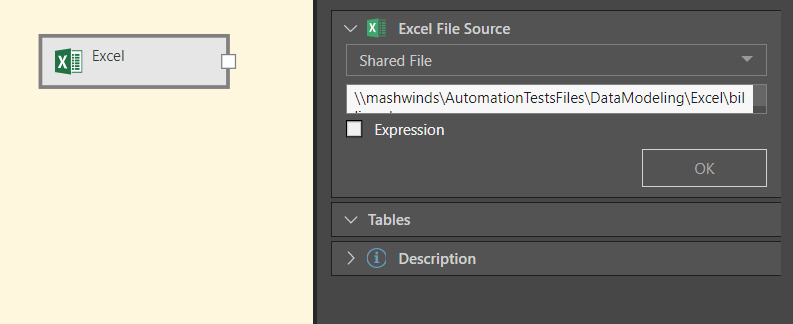
Clock OK to confirm your selection:
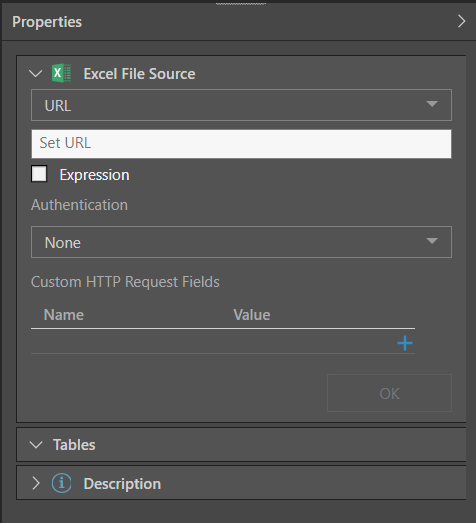
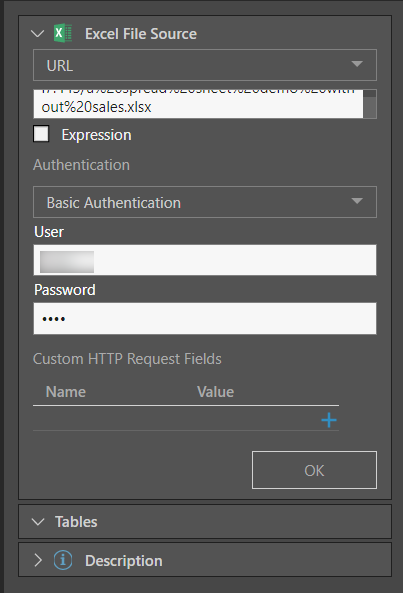
URL
The data will be downloaded from the URL when the model is processed. To connect to a URL, enter the URL and its required authorization:
- None: Select None if no authorization is required.
- Basic Authentication: Select if basic authentication is required.
- Custom Header: Select if custom header authorization is required.
Worksheets vs Named Ranges & Tables
After providing the file, you can set the appropriate table type. If each table in the file resides on its own worksheet, select 'Worksheets'. This will convert each sheet into a table in Pyramid.
If the worksheets in the file contain multiple named tables and ranges (rather than each table being placed in a different worksheet), choose 'Named Ranges & Tables'.
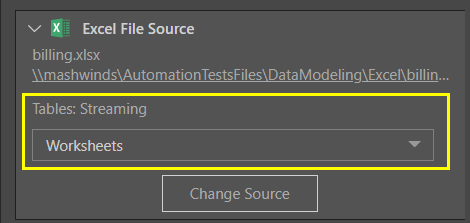
Table Selection
From the Table Selection panel, select the tables that should be added to the Data Flow.
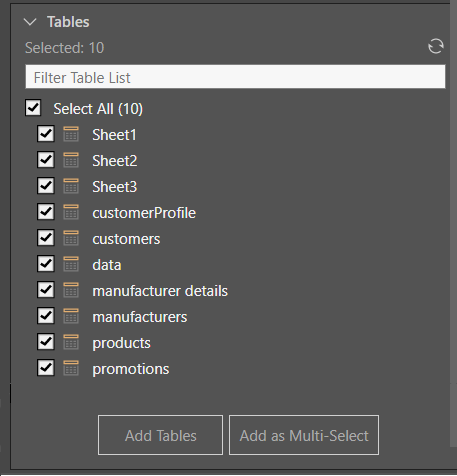
If the tables include filters, you can select the checkbox to remove them for further analysis.
Description
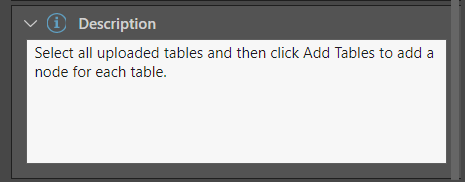
Expand the Description window to add a description or notes to the node. The description is visible only from the Properties panel of the node, and does not produce any outputs. This is a useful way to document the ETL pipeline for yourself and other users.
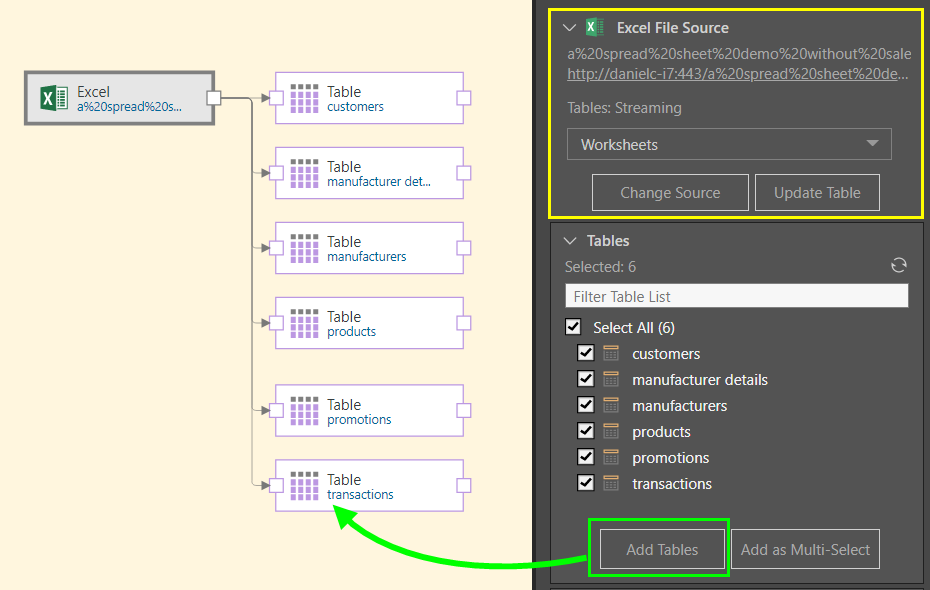
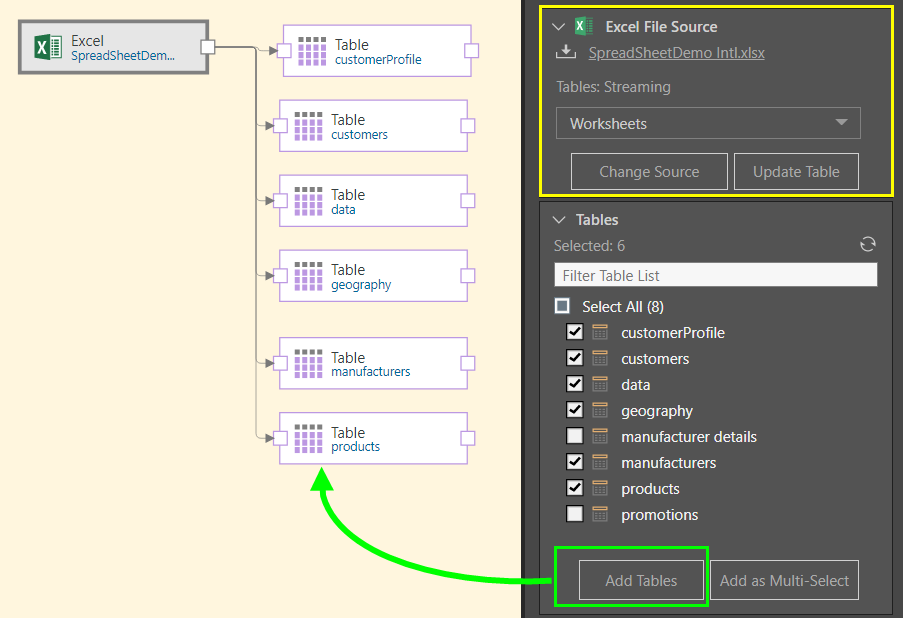
Here, the user uploaded a local Excel file (yellow highlight below), and connected 6 tables to the data flow via the Add Tables function (green highlight), producing a separate table node for each worksheet in the file:
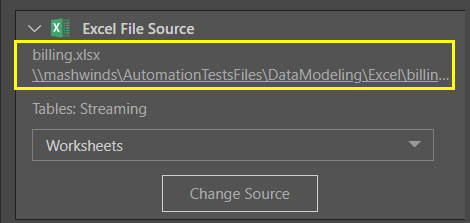
In this example, the user connected to a shared file, pasting the file path in the 'Shared 'File' field:
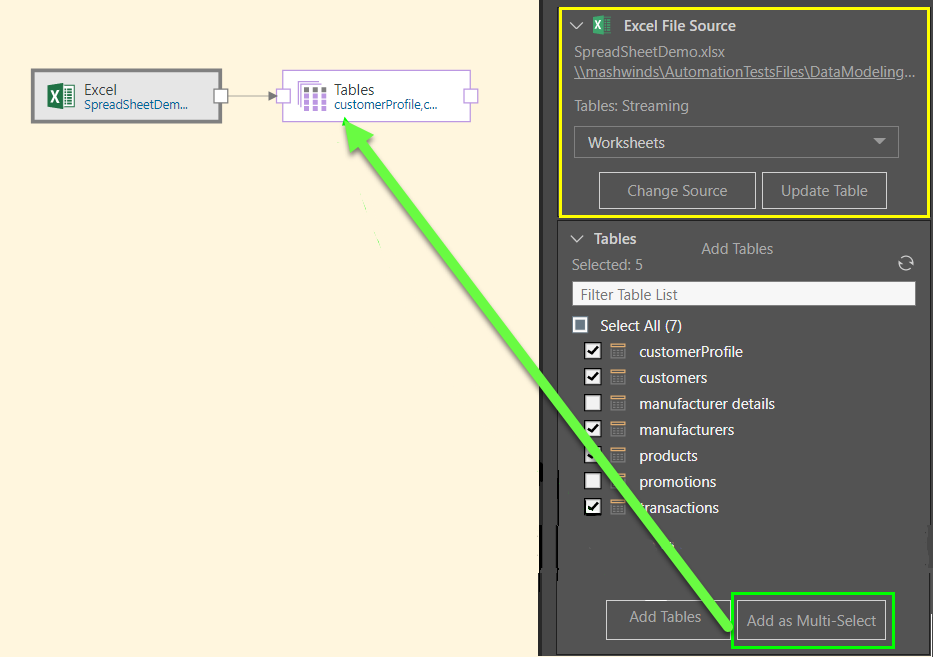
After clicking OK, Pyramid connected to the shared file (yellow highlight below), and 5 tables were connected to the data flow using the Add as Multi-Select function (green highlight), producing a single multi-select Tables node representing all given tables from the file:
In this example, the user connected to a URL; the URL was pasted in the URL field, and then the username and password provided:
Once the user clicks OK, Pyramid connects the URL (yellow highlight below), and the user then uses Add Tables to connect all tables from the file to the data source, producing a separate table node for each table (green highlight):